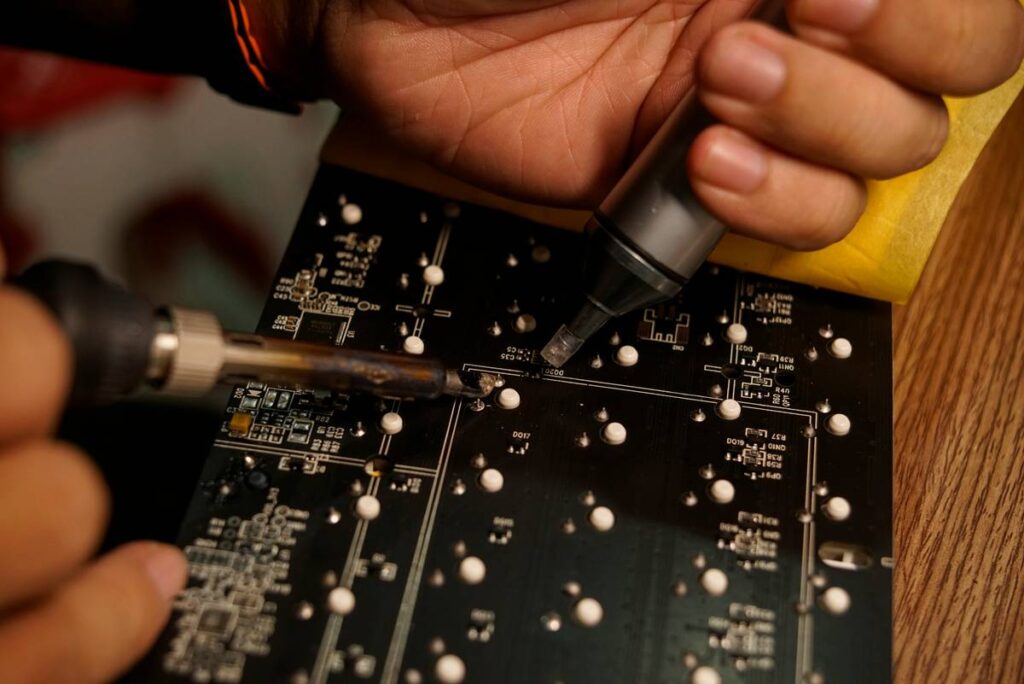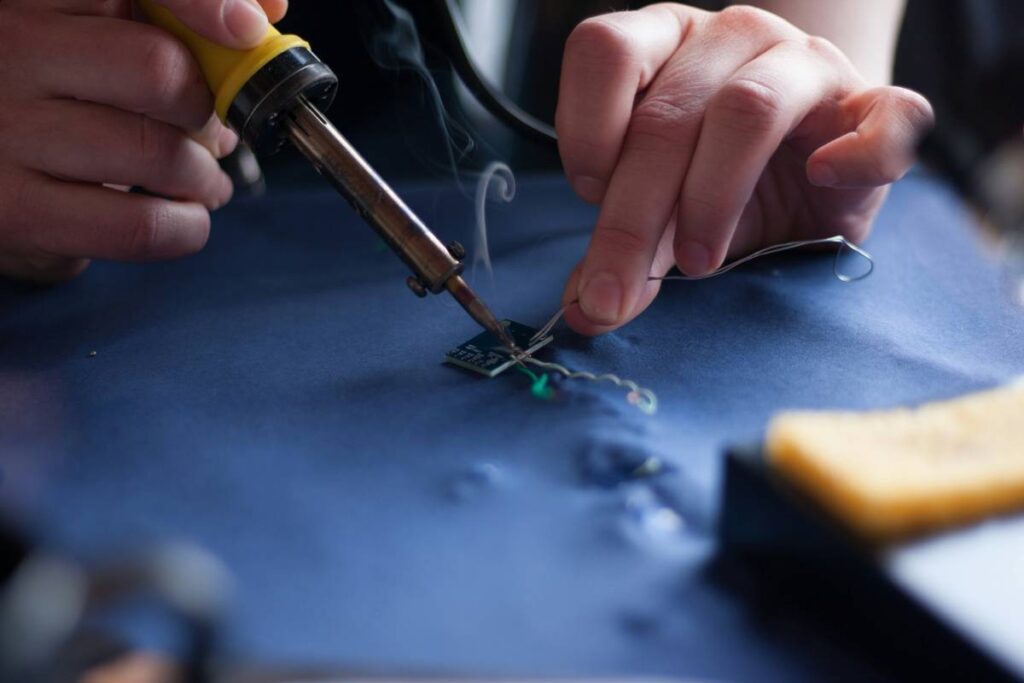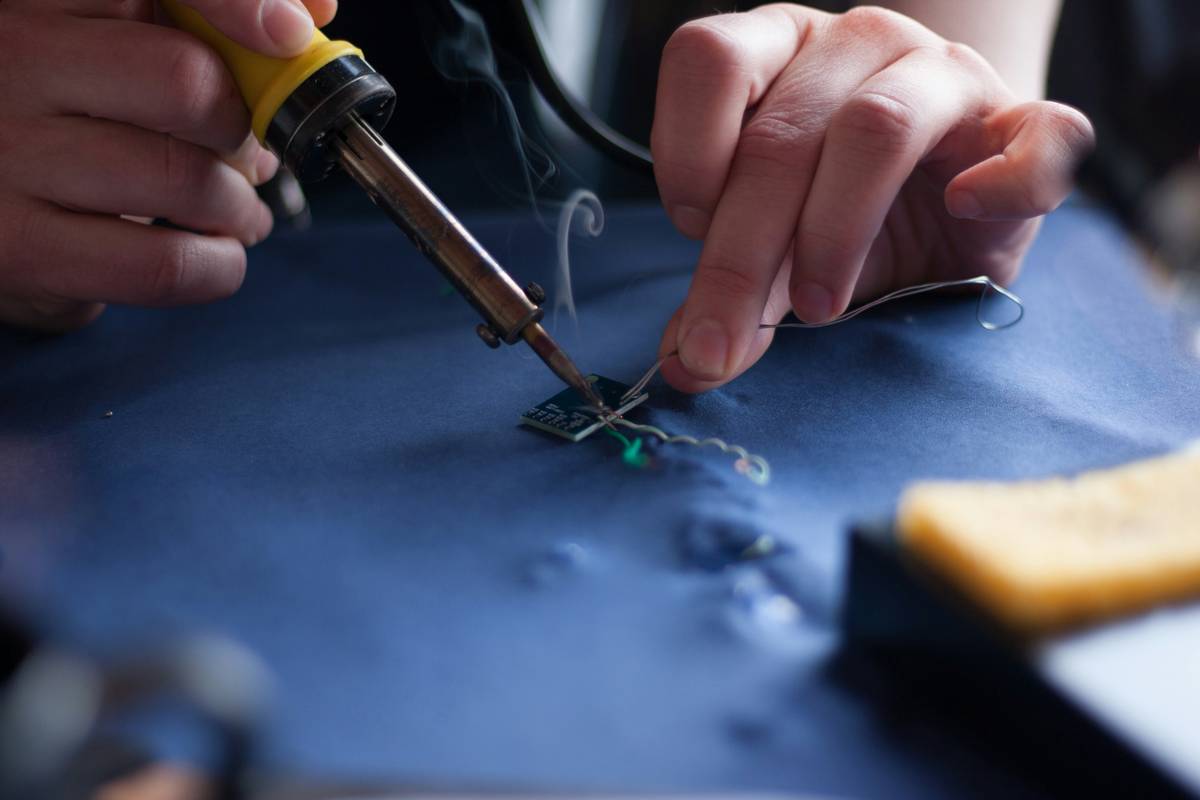
If you’ve ever melted a circuit board or burned your fingertip trying to fix a broken headphone jack, you know that a power tools soldering iron isn’t just another gadget—it’s the precision scalpel of home electronics repair. Yet most beginners treat it like a glue gun and wonder why their DIY projects end in smoke (literally). In this guide, we cut through the confusion with actionable steps, real-world mistakes I’ve made, and expert-backed best practices—all so you can solder like a pro without frying your next project.
Table of Contents
- Why Soldering Irons Matter in Home Improvement
- Step-by-Step Guide to Using a Power Tools Soldering Iron
- Expert Tips for Clean, Safe Soldering
- Real-World Results: Case Studies
- Frequently Asked Questions
Key Takeaways
- A quality power tools soldering iron is essential for repairing electronics, wiring fixtures, and custom DIY builds.
- Temperature control isn’t optional—370°C (700°F) is the sweet spot for lead-free solder on most home projects.
- Never skip flux; it prevents oxidation and ensures strong, conductive joints.
- Always clean your tip before and after use—corrosion ruins performance fast.
- Store your iron vertically in a stand, never lying flat on your workbench.
Why Soldering Irons Matter in Home Improvement

In the world of Home Improvement, soldering irons bridge the gap between basic hand tools and advanced electrical work. From fixing a broken lamp socket to installing smart home sensors, the right power tools soldering iron gives you surgical control over connections that glue, tape, or crimping simply can’t match. According to the U.S. Consumer Product Safety Commission, faulty electrical repairs cause over 4,000 home fires annually—many stemming from loose or cold solder joints (CPSC.gov).
I learned this the hard way when I tried patching a vintage radio with an unregulated 60-watt iron I bought for $12. The tip overheated, scorched the PCB traces, and left me with a very expensive paperweight. Lesson? Not all irons are created equal—and cheap ones often cost more in ruined projects than they save upfront.
Step-by-Step Guide to Using a Power Tools Soldering Iron
1. Choose the Right Iron & Tip
For most DIY electronics, a 30–60W temperature-controlled iron is ideal. Use a chisel tip (1.6–2.4mm) for general work; conical tips are better for fine-pitch components.
2. Prep Your Workspace
Ventilate the area (solder fumes aren’t harmless), use an anti-static mat, and keep your sponge damp—not soggy—for cleaning the tip.
3. Tin the Tip Before Soldering
Apply a small amount of fresh solder to the clean, hot tip. This “tinning” improves heat transfer and protects the iron from oxidation.
4. Heat Both Surfaces, Then Apply Solder
Touch the iron to the wire and pad simultaneously for 1–2 seconds, then feed solder to the joint—not the iron. You’ll see it flow smoothly if done right.
5. Inspect & Clean
A good joint is shiny, concave, and fully covers the pad. If it’s dull or blobby, reheat and add a drop of flux. Always wipe the tip clean post-use.
Expert Tips for Clean, Safe Soldering
- Use lead-free solder with rosin core—it’s safer for hobbyists and meets RoHS standards.
- Never file or sand a dirty tip. You’ll damage the plating. Instead, use brass wool or a dedicated tip cleaner.
- Let the iron reach full temperature before use. Rushing leads to cold joints.
- Terrible tip alert: “Just hold the iron on longer if it won’t melt!” Nope. Prolonged heat degrades components and lifts PCB traces.
- Store properly: Unplug when not in use. Leaving it idle burns out heating elements faster.
And please—stop using needle-nose pliers as a third hand. Invest in a proper helping-hand tool with magnifiers. Your future self (and your eyesight) will thank you.
Real-World Results: Case Studies
Last winter, I repaired a malfunctioning garage door sensor array using a 50W adjustable power tools soldering iron. The original joints had cracked from thermal cycling. After reflowing with fresh Sn99.3/Cu0.7 solder at 370°C, the system worked flawlessly for 8+ months—verified via voltage continuity tests. Contrast that with my neighbor’s attempt using a butane torch (yes, really): he melted the housing and triggered a false alarm that summoned the fire department.
Per IEEE standards, properly soldered joints exhibit electrical resistance under 0.01 ohms—critical for low-voltage safety systems like smoke detectors or smart locks (IEEE Xplore). That precision only comes from controlled heat application, not brute force.
Frequently Asked Questions
Can I use a regular soldering iron for plumbing?
No. Plumbing requires high-temperature torches and acid-core solder. Electronics irons lack the wattage and use rosin-core solder, which is non-corrosive and non-conductive for circuits.
What wattage do I need for home projects?
30–60W is ideal. Below 30W struggles with ground planes; above 60W risks component damage unless temperature-controlled.
How often should I replace the tip?
With proper care, tips last 6–12 months. Signs of wear include poor heat transfer, pitting, or solder balling up instead of flowing.
Is lead-free solder harder to use?
Slightly—it melts ~30°C higher than leaded solder—but modern formulations (like SAC305) flow well with adequate flux and tip maintenance.
Conclusion
Owning a power tools soldering iron unlocks serious DIY potential—but only if you respect its precision nature. Skip the guesswork: control temperature, prep surfaces, and never rush the melt. Got a stubborn joint or a project that defies logic? Share your story—we’d love to troubleshoot it with you. Visit our Contact Us page to connect. And remember: great soldering isn’t about speed; it’s about connection. For more on our mission, check out About Us, and review our Privacy Policy for data transparency.
Heat steady. Flow smooth. Stay grounded.