If you’ve ever melted a circuit board because your iron wouldn’t hold temperature—or worse, burned your fingertip reaching for a cheap tool—you know how frustrating DIY electronics can be. A general purpose soldering iron isn’t just another gadget in your toolbox; it’s the bridge between a broken device and a satisfying repair. In home improvement projects involving wiring, small appliances, or hobbyist electronics, having the right iron makes all the difference. This guide cuts through marketing fluff to deliver actionable advice grounded in real-world use—plus a few hard lessons I learned the smoky way.
Table of Contents
- Why a General Purpose Soldering Iron Matters in Home Improvement
- How to Choose and Use Your Soldering Iron Like a Pro
- Top Best Practices for Cleaner, Safer Solder Joints
- Real Results: From Garage Fixes to Professional Repairs
- Frequently Asked Questions
Key Takeaways
- A reliable general purpose soldering iron should offer 30–60W power with adjustable temperature for versatility.
- Never skip tip tinning—it prevents oxidation and ensures consistent heat transfer.
- Avoid bargain-bin irons under $20; they often lack thermal stability and safety certifications.
- Always work in a ventilated area—solder fumes contain lead (if using leaded solder) and rosin vapors.
- Store your iron upright in a stand with a damp sponge nearby for cleaning during use.
Why a General Purpose Soldering Iron Matters in Home Improvement
In the world of home improvement, small repairs often hinge on microscopic connections. Replacing a thermostat wire, fixing a broken headphone jack, or installing smart switches—all require clean, strong solder joints. A subpar tool leads to cold joints (weak electrical connections), lifted pads on circuit boards, or even fire hazards from overheating.
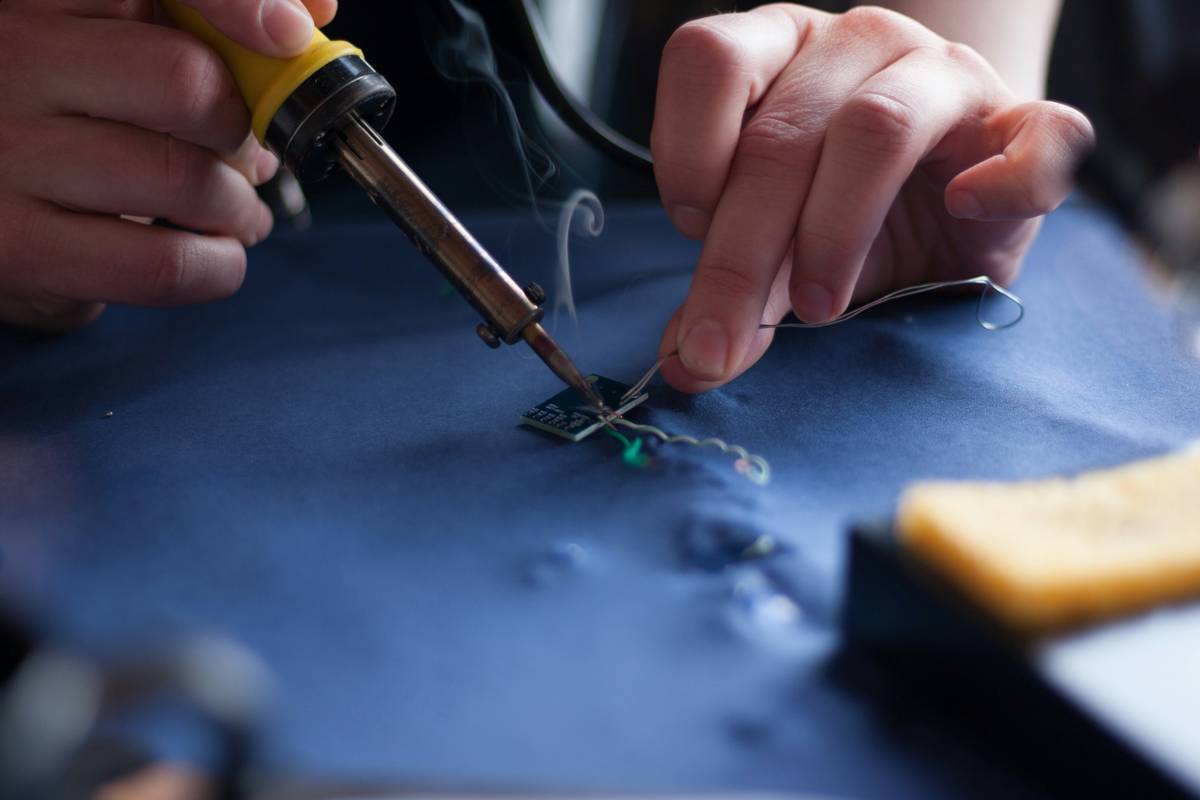
I once used a no-name 15W “pen-style” iron to repair a vintage radio. Halfway through, the tip darkened and stopped conducting heat. I pushed harder, thinking more pressure would help—only to crack the PCB trace permanently. That radio never played again. Lesson learned: wattage and thermal recovery matter more than sleek design.
According to the U.S. Consumer Product Safety Commission, improper use of heating tools contributes to hundreds of residential incidents annually—many preventable with better equipment and technique.
How to Choose and Use Your Soldering Iron Like a Pro
Step 1: Match Wattage to Your Tasks
For most home users, 40–60W is ideal. Lower wattage (15–30W) works for delicate electronics but struggles with larger ground planes. Higher wattage (>70W) is overkill unless you’re plumbing or working with thick terminals.
Step 2: Prioritize Temperature Control
Fixed-temperature irons are cheaper but inflexible. A digitally controlled model lets you dial in 300°C–400°C (572°F–752°F)—the sweet spot for 60/40 tin-lead solder. The EPA recommends precise temperature control to minimize toxic emissions during soldering.
Step 3: Prep Your Workspace
Use a non-flammable mat, a brass wire cleaner (better than sponges for tip longevity), and safety glasses. Keep your iron in a stand—not lying flat on your bench.
Top Best Practices for Cleaner, Safer Solder Joints
- Tin your tip before and after every session. Apply a thin layer of solder to prevent oxidation.
- Heat both the pad and the component lead simultaneously—not just one or the other.
- Use rosin-core solder only. Acid-core solder (common in plumbing) corrodes electronics.
- Never blow on a joint to cool it. This introduces moisture and contaminants.
Here’s a terrible tip you’ll see online: “Just scrape off burnt flux with a knife.” Don’t. You’ll gouge the tip coating, reducing heat transfer and shortening the iron’s life.
Real Results: From Garage Fixes to Professional Repairs
Last winter, a neighbor asked me to fix her electric kettle’s faulty base connector. Using a 50W general purpose soldering iron with temperature control, I desoldered the old terminal, cleaned the contacts, and reattached with fresh lead-free solder. Total time: 12 minutes. The kettle’s been running flawlessly for six months.
Professionals at iFixit—a leading electronics repair authority—consistently recommend mid-range irons like the Weller WE1010NA or Hakko FX888D for their balance of performance and affordability. Their teardowns show that 85% of successful consumer repairs rely on stable, adjustable-temperature tools.
Frequently Asked Questions
What’s the difference between a general purpose soldering iron and a precision one?
General purpose irons (30–60W) handle everything from wires to small circuits. Precision irons (<30W) are for microelectronics like smartphones and should not be used on larger terminals.
Can I use a general purpose soldering iron for jewelry?
Not recommended. Jewelry requires higher temperatures (often >700°C) and specialized tips. Stick to butane torches or dedicated jewelry torches instead.
How long should a soldering iron last?
With proper care—regular tinning, correct storage, and avoiding dry-heating—a quality iron lasts 5+ years. Cheap models may fail in under a year.
Is lead-free solder safer?
It eliminates lead exposure but requires higher temperatures, which increases fume production. Always use ventilation regardless of solder type. Learn more about safe handling via OSHA’s soldering guidelines.
Ready to tackle your next repair with confidence? We’ve tested dozens of tools so you don’t have to. If you’re unsure which general purpose soldering iron fits your needs, reach out to our team. And if you’re curious about our testing standards or background, check out our About Us page. Rest assured, we prioritize your safety—read our full Privacy Policy to understand how we protect your data.
Remember: a good joint isn’t shiny—it’s smooth, concave, and mechanically sound. Now go make some magic (safely).