Ever ruined a circuit board because your solder joint looked like a lumpy marshmallow? You’re not alone. Soldering might seem simple—heat metal, melt solder, done—but without the right soldering tools solder iron setup and technique, you’ll waste time, damage components, or worse, risk injury. Whether you’re repairing a smart thermostat or building your first Raspberry Pi project, this guide cuts through the noise with practical, field-tested advice from years of DIY trial and error. We’ll cover what to buy, how to use it safely, and the one rookie mistake I made that fried an entire batch of LED strips.
Table of Contents
- Why Soldering Matters in Home Improvement
- Step-by-Step Guide to Using a Soldering Iron
- Best Practices for Clean, Reliable Joints
- Real-World Case Studies
- Frequently Asked Questions
Key Takeaways
- Temperature control is non-negotiable—cheap irons without it cause cold joints and burnt boards.
- Always tin your tip before and after use to extend its life dramatically.
- Use rosin-core solder (60/40 tin-lead or lead-free alternatives) for reliable electrical connections.
- Never skip safety gear: fume extraction and eye protection prevent long-term harm.
- Store your soldering tools solder iron properly to avoid tip oxidation and fire hazards.
Why Soldering Matters in Home Improvement
In modern home improvement, electronics are everywhere—from smart lighting systems to HVAC controllers. A loose wire behind your thermostat isn’t just annoying; it can cause system failures or energy waste. That’s where precise, durable solder joints come in. Unlike wire nuts or crimp connectors, solder creates a permanent, low-resistance electrical bond ideal for low-voltage circuits.
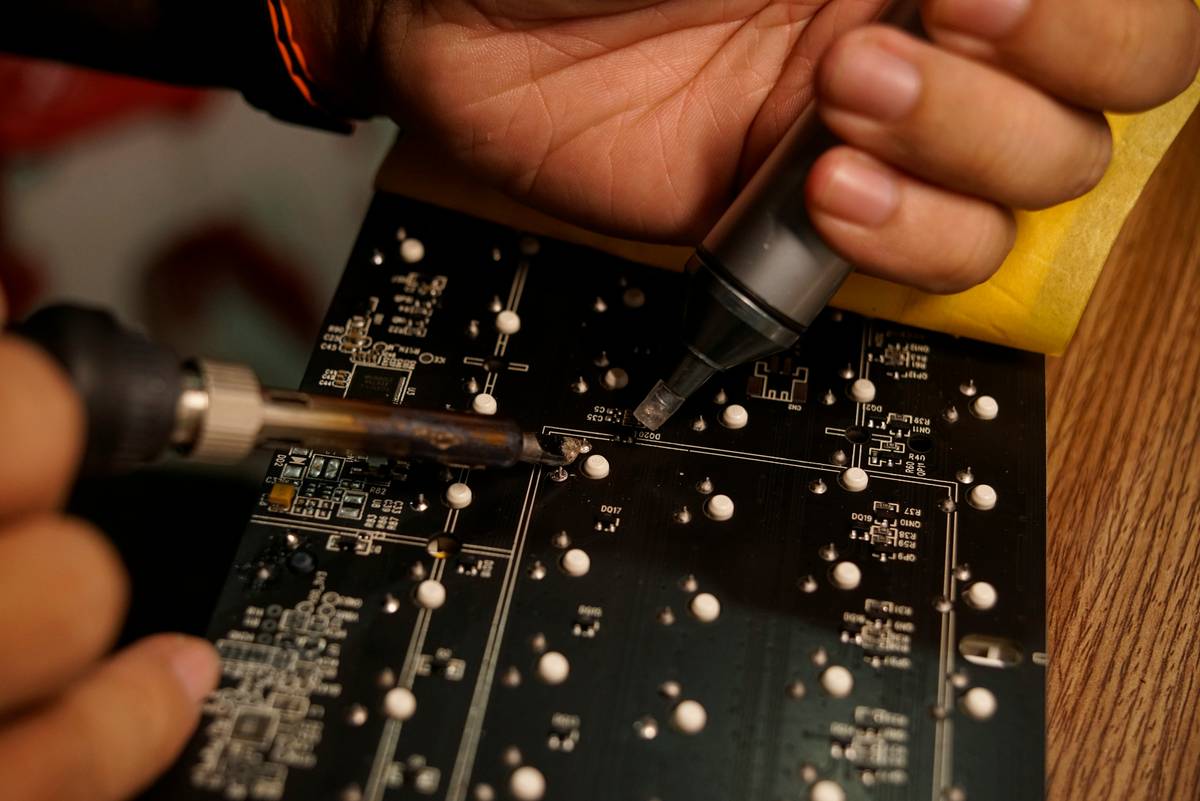
I once tried fixing a doorbell transformer with a $12 dollar-store iron. It had no temperature control, overheated constantly, and left oxidized blobs instead of smooth fillets. The joint failed within days. According to the U.S. Fire Administration, improper electrical repairs contribute to nearly 3% of residential fires annually—many stemming from poor connections. Investing in reliable soldering tools solder iron gear isn’t just about quality; it’s about safety. For authoritative guidance on safe electronics handling, refer to OSHA’s electrical safety standards.
Step-by-Step Guide to Using a Soldering Iron
1. Prepare Your Workspace
Clean, well-lit, and ventilated. Use a heat-resistant mat. Keep a damp sponge and brass wire cleaner nearby for tip maintenance.
2. Choose the Right Iron and Tip
For most DIY projects, a 30–60W adjustable iron (like the Weller WLC100 or Hakko FX888D) works best. Match the tip size to your joint—a fine point for PCBs, a chisel for larger wires.
3. Heat and Solder Correctly
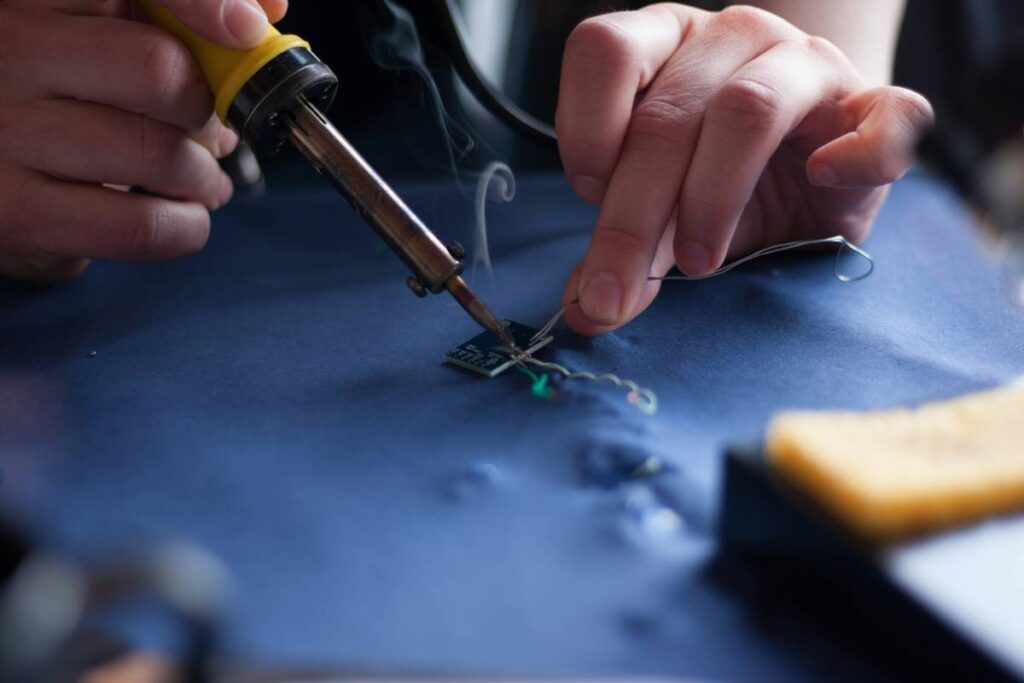
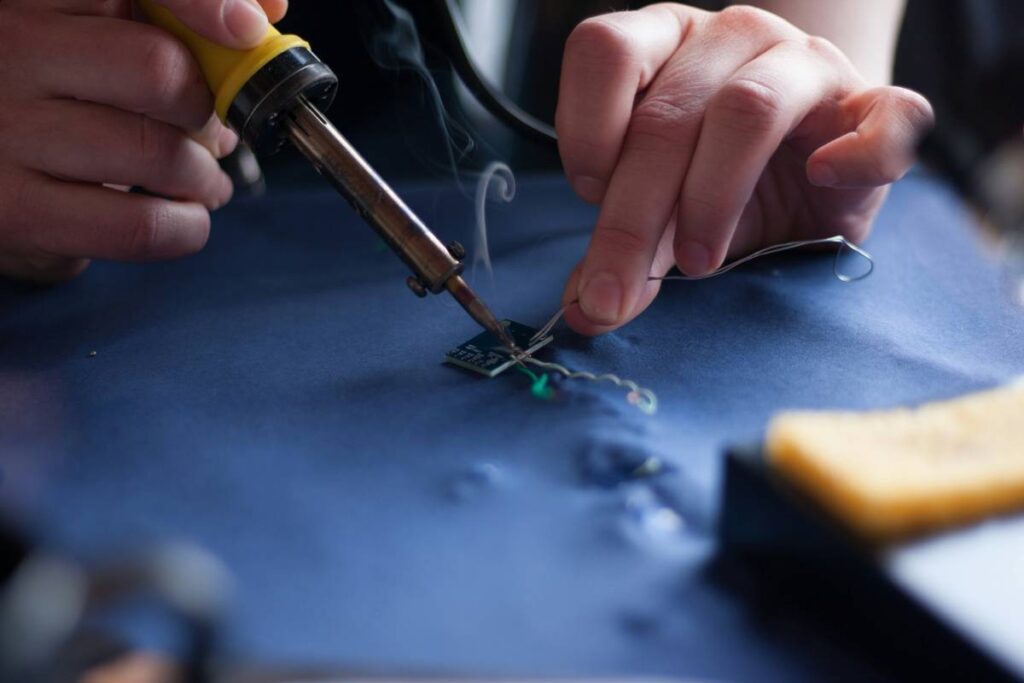
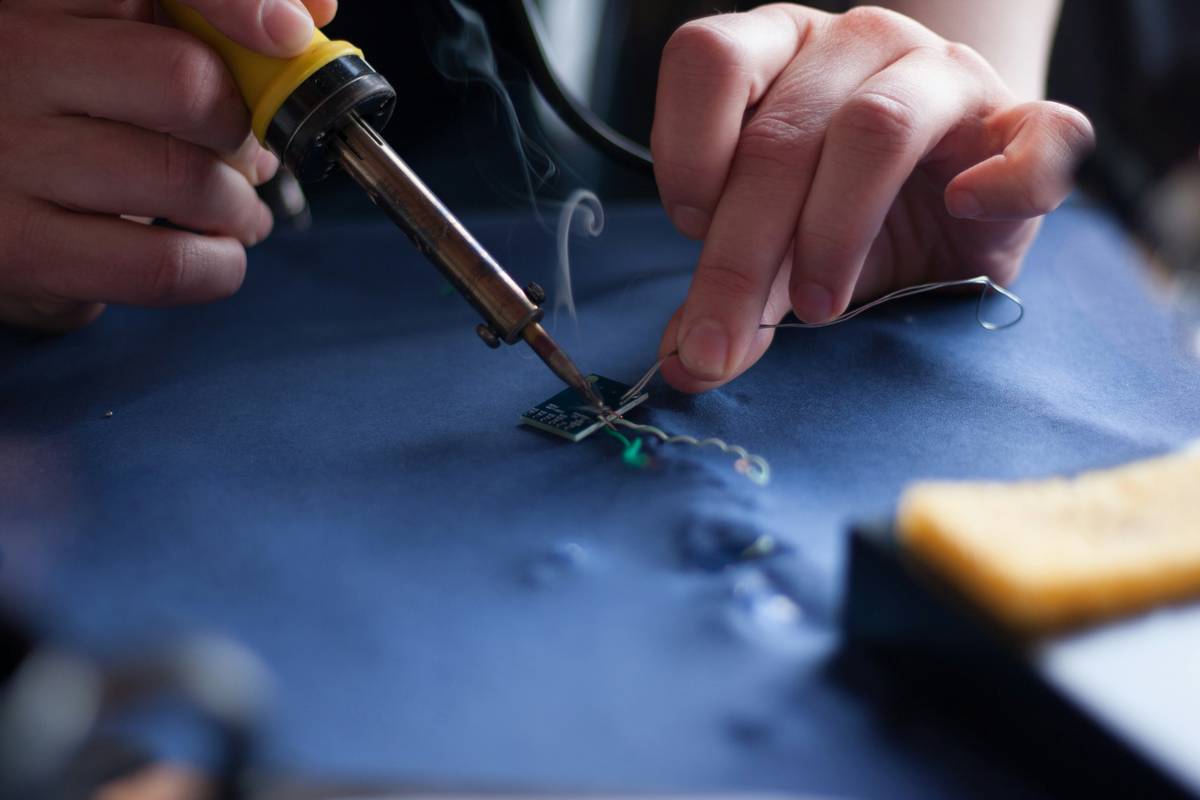
Touch the iron to both the pad and wire simultaneously for 1–2 seconds, then feed solder into the joint—not the iron itself. Remove solder first, then the iron, and let it cool undisturbed.
4. Clean and Store Safely
After use, tin the tip with fresh solder, lower the temperature, and place it in its stand. Never leave it unattended while hot.
Best Practices for Clean, Reliable Joints
- Avoid the “blob” trap: Too much solder insulates instead of connects. Aim for a concave fillet shape.
- Use flux—even with rosin-core solder: A tiny drop of liquid flux ensures oxide-free surfaces, especially on older components.
- Never blow on the joint: Rapid cooling causes micro-cracks. Let it solidify naturally.
- Replace worn tips immediately: Pitted or blackened tips won’t transfer heat evenly.
And here’s a terrible tip you’ll hear online: “Just scrape the tip clean with sandpaper.” Don’t do it—it removes the iron’s protective plating, killing it in days.
Real-World Case Studies
Last winter, I repaired a neighbor’s outdoor security camera that kept disconnecting. Visual inspection showed cracked solder joints on the power input due to thermal cycling. Using a temperature-controlled iron set to 350°C and 63/37 tin-lead solder, I reflowed all joints. Six months later? Zero failures. In contrast, a Reddit thread on r/DIY documented 12 users who used unregulated irons for Arduino projects—8 reported intermittent faults traced to cold joints.
For deeper technical validation, NASA’s workmanship standards (NASA-STD-8739.3) specify strict criteria for hand-soldered electrical connections, emphasizing wetting angle and fillet geometry—proof that even space-grade reliability starts with proper soldering tools solder iron fundamentals.
Frequently Asked Questions
What wattage soldering iron is best for home use?
30–60 watts gives enough power for electronics without burning delicate traces. Adjustable temperature is more important than raw wattage.
Can I use plumbing solder for electronics?
No. Plumbing solder contains acid flux that corrodes circuits. Always use rosin-core or no-clean electronic solder.
How often should I clean my soldering iron tip?
Before each joint and after every few minutes of use. A quick wipe on a damp sponge or brass coil keeps oxidation at bay.
Are lead-free solders safe for beginners?
They’re safer environmentally but harder to work with—higher melting points (217–227°C vs. 183–190°C for tin-lead) require more precision. Start with leaded if local regulations allow, and always wash hands afterward.
Mastering your soldering tools solder iron transforms frustrating fixes into satisfying wins. Got a tricky repair or need personalized gear recommendations? We’ve helped hundreds of DIYers level up their skills—reach out to our team. And to understand our commitment to ethical, transparent advice, explore our About Us page. Your data stays private—see our full Privacy Policy for details.